


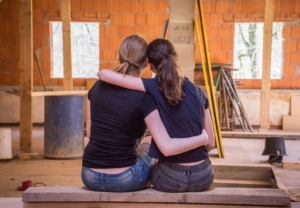
ダイニングをおしゃれなダイニングカフェ風のくつろぎ空間にしたい!
なるべく安く、かんたんに。
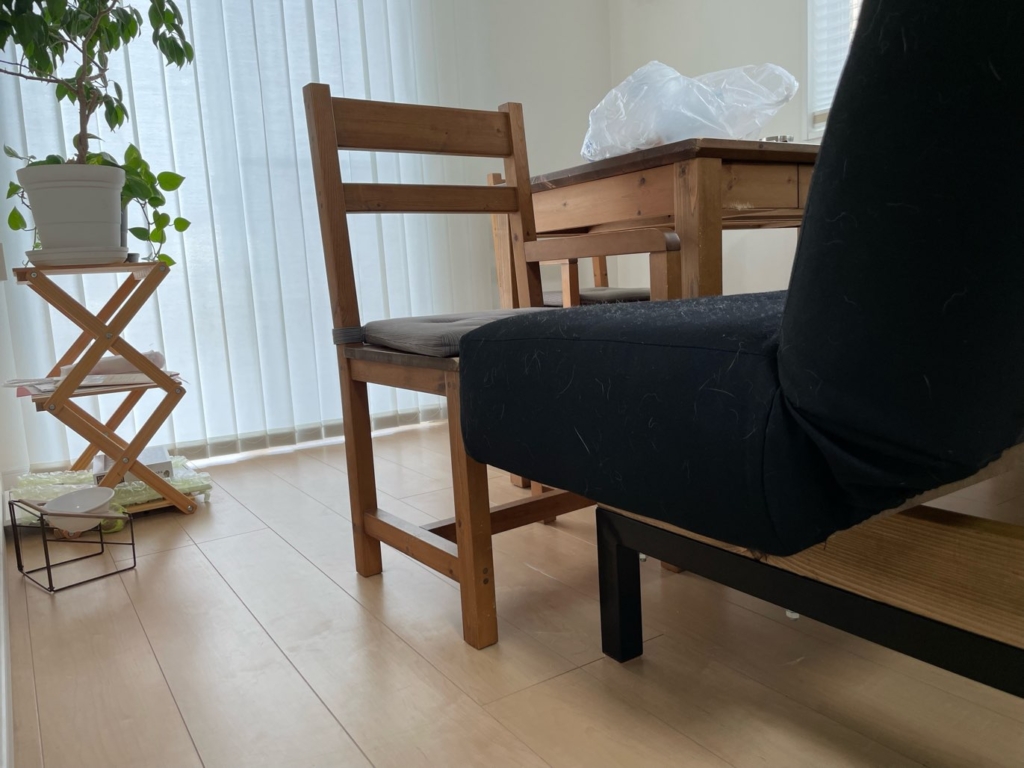
材料費1500円で、イケアのソファベッドを今使っているダイニングの高さに合わせることができました
うまくいったけど、ちょっと不安なところも…
イケアの推奨している組み立て方ではないので
実施は自己責任でお願いします!

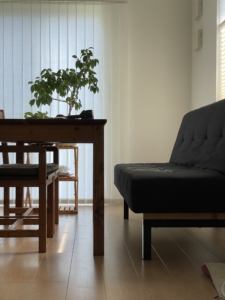
材料費1500円!ソファでくつろげる超快適なダイニングに
高いものでもツーバイフォー材の800円程度で、あとは数十円の小さい金物だけ❗
ちゃんと計算したら1000円くらいかも
- ツーバイフォー材 長さ763mm 2本(長くてもOK)
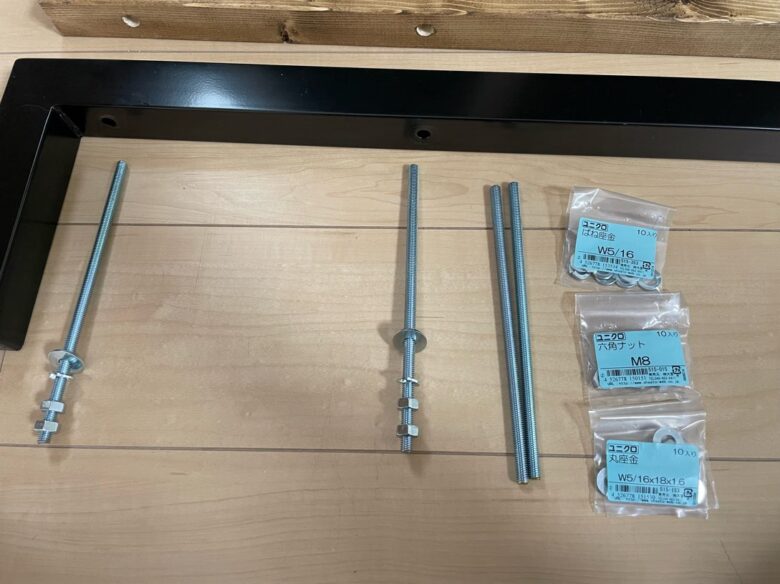
- ボルト M8 長さ200mm 4本
- ワッシャー W5/16 8個
- バネワッシャー W5/16 4個
- 六角ナット M8 12個
- インパクトドライバー
- 木工用ドリル12mm 長いやつ
- レンチ2本
- のこぎり
- 古いタオル(ブライワックス塗装用)
カインズの工房を予約すれば、インパクトドライバーは無料で貸してもらえます!


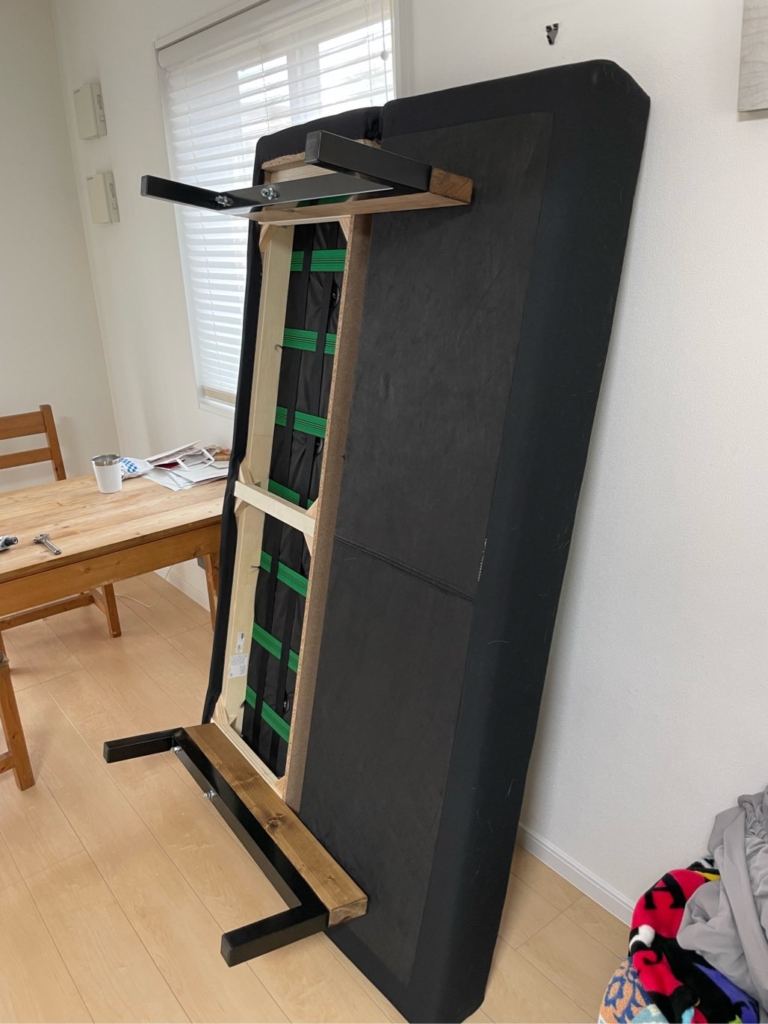
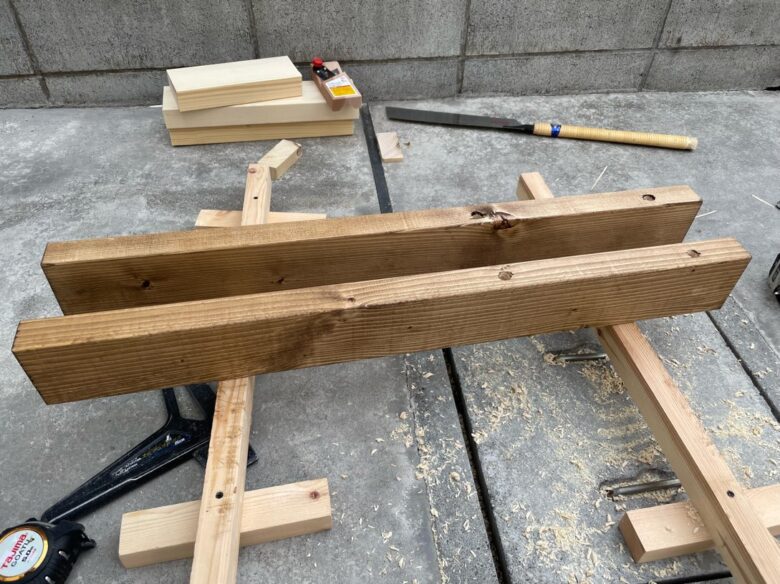
座面本体と脚のあいだに2×4材をはさんでボルトで固定
一言でいうとこれだけなんだけど、詳しく説明していきます👇
具体的なやりかた

組立前の場合はこの工程は飛ばして下さい~
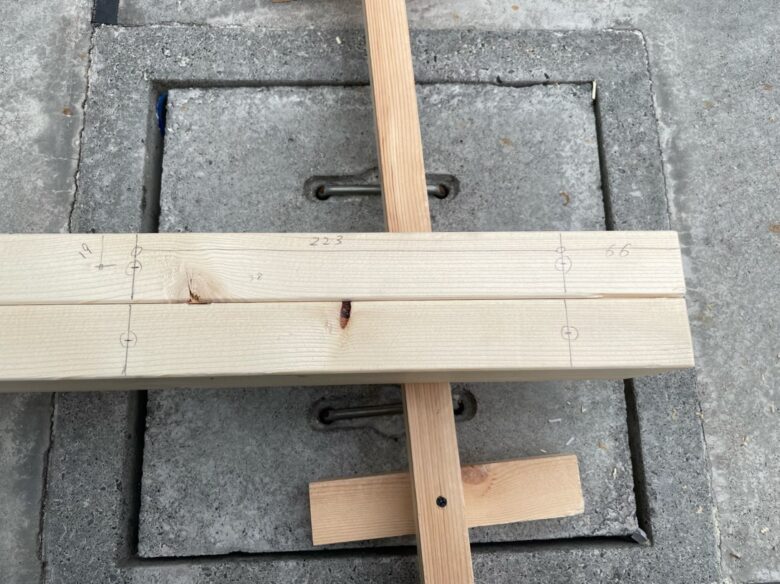
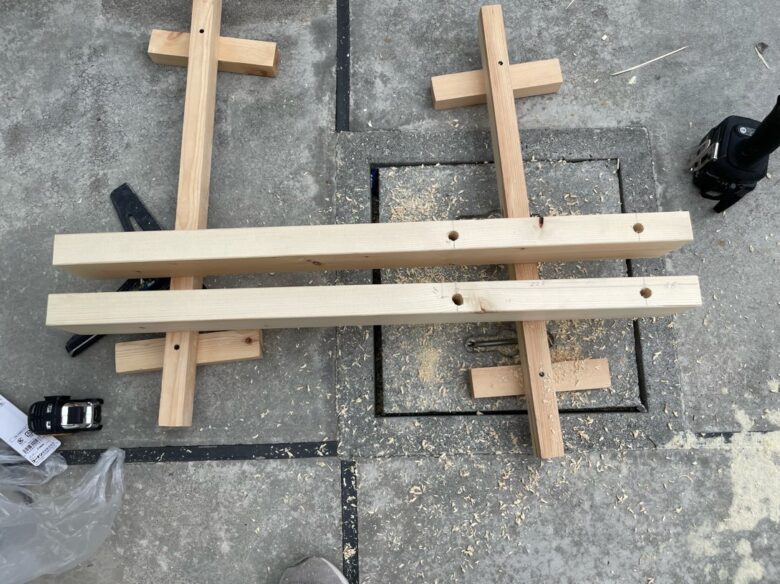
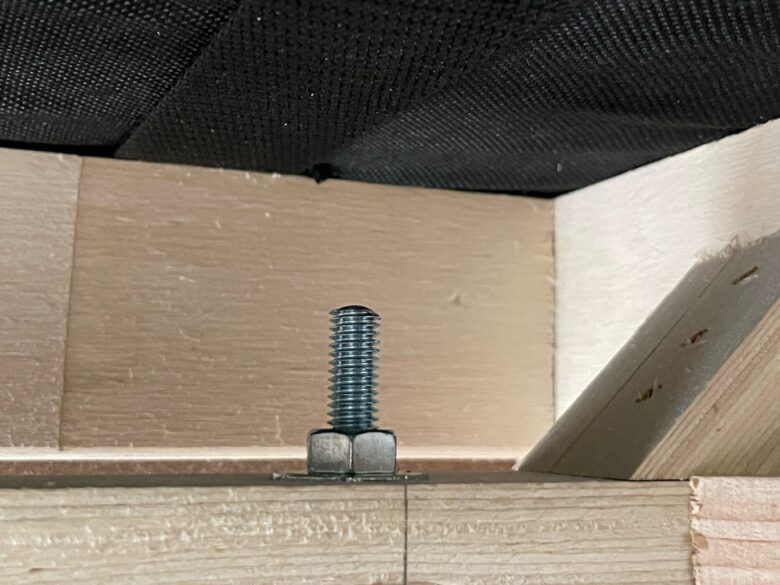
763mmの長さにカットしたツーバイフォーに穴を空けていきます
穴の位置は写真の通り
穴あけのコツは上と下の両側から半分ずつあけること!
まっすぐな穴あけはプロでもむずい~
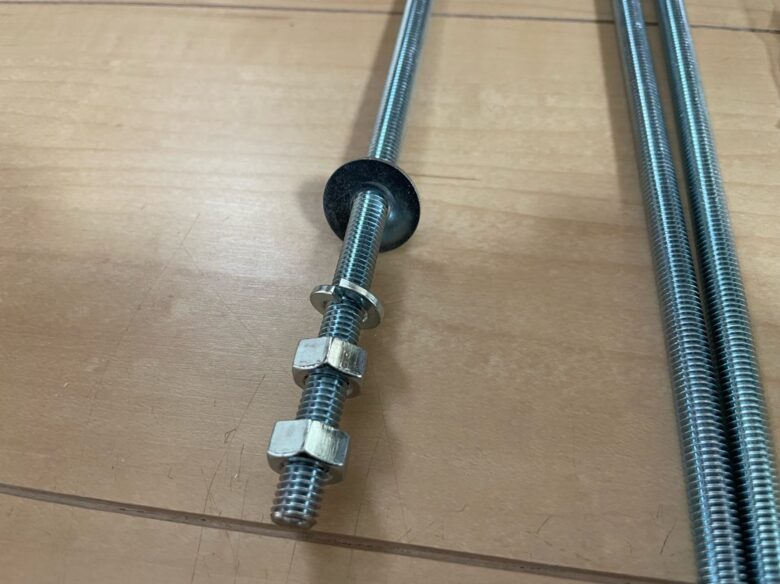
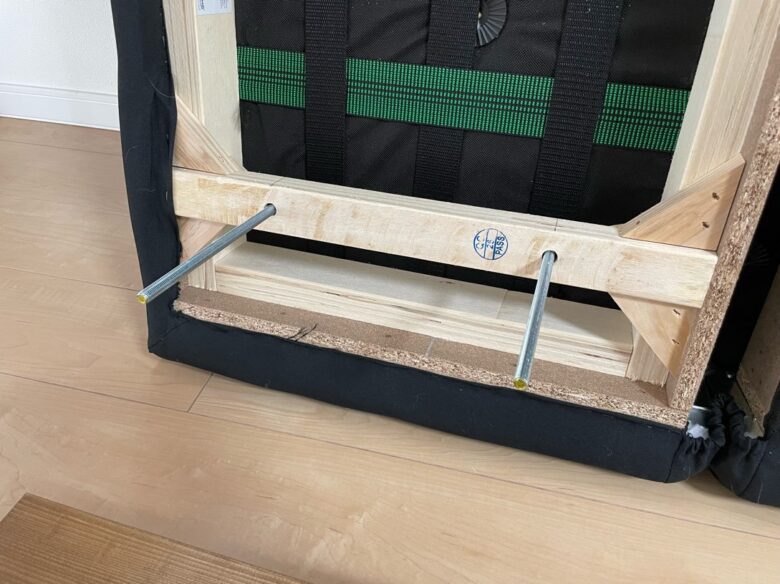
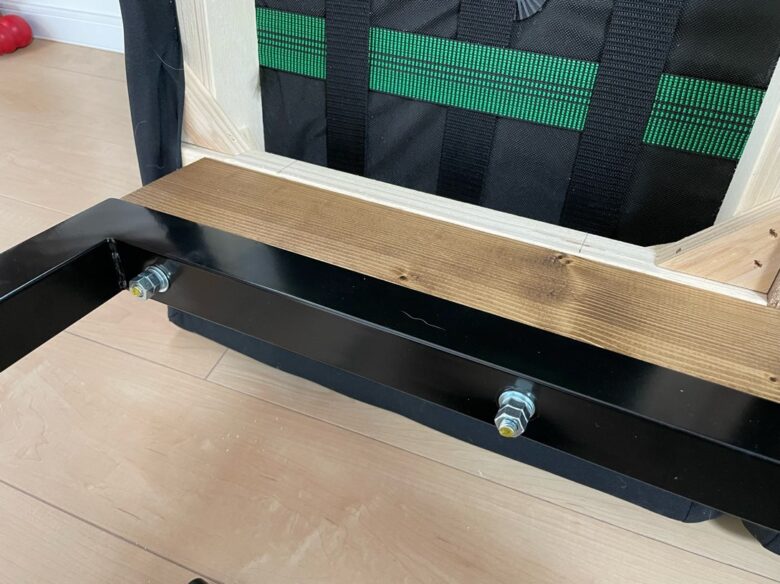
ボルト締めのポイントはいくつかあるので下記にまとめました
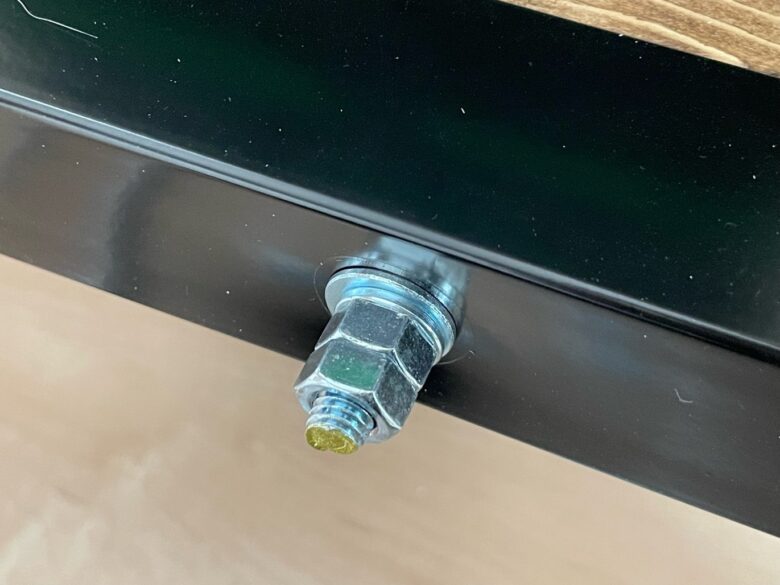
- 締め込みすぎない(脚部の鉄板があまり厚くないから締めすぎるとひん曲がる)
- レンチを2本使って両側から締める
- 床側のナットを2つ重ねる&バネワッシャー併用で緩み防止
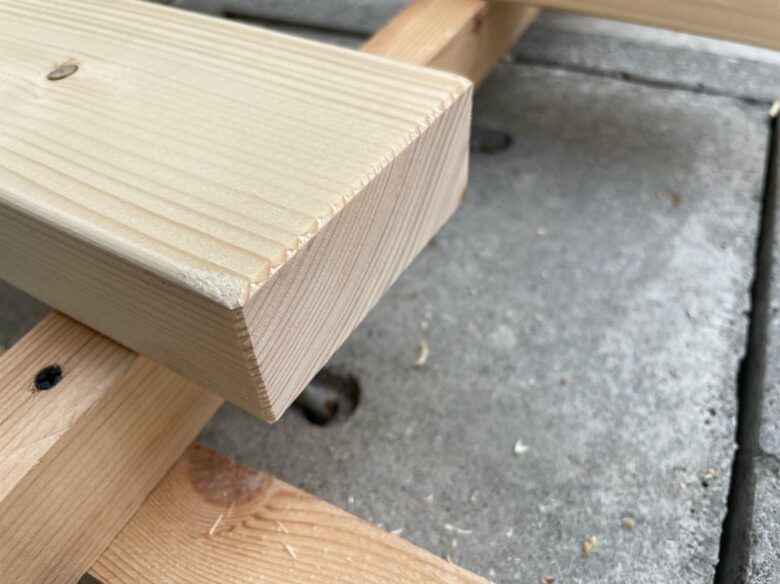
カッコよくするひと手間
上記手順の他にひと手間くわえてカッコよくしました❗
ちょっと遊ばないと面白くない
面取りかんなで角を落とす
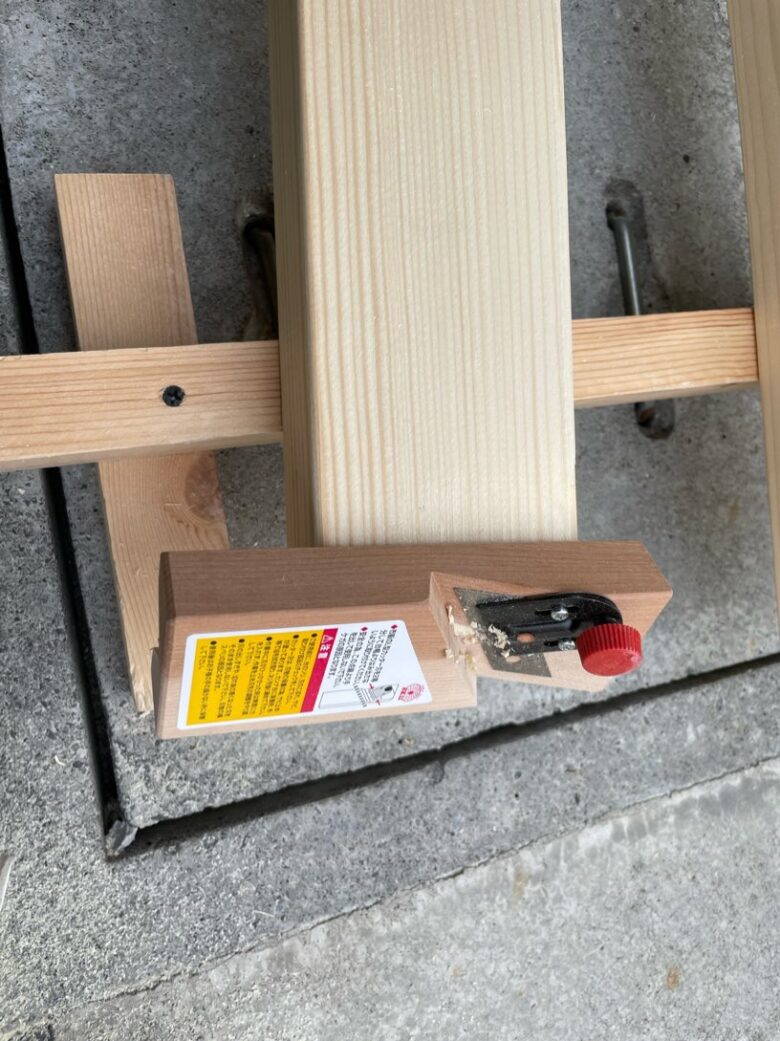
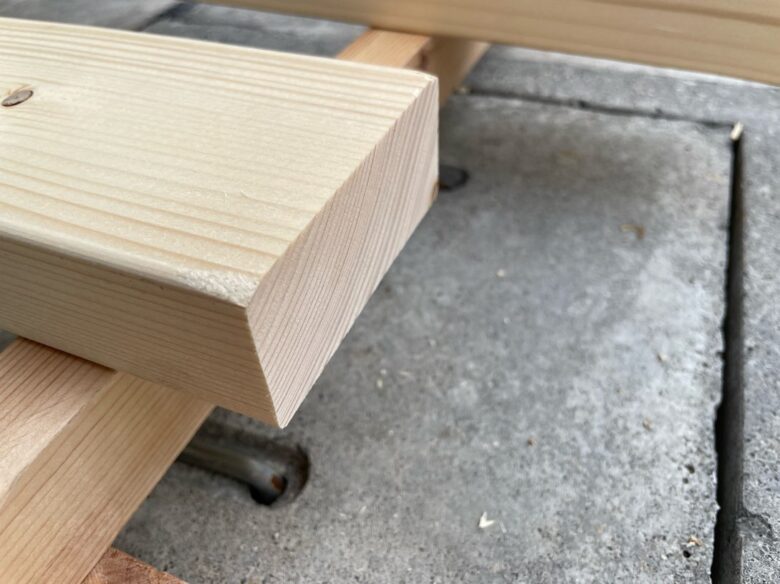
面取り鉋きもちー♪
めっちゃ好きなんですよー。手触りやさしくなるし。
ピン角があったら全部面取りながら生きてきました
世界のピン角は僕が落としていると言っても過言ではありません( ・´ー・`)
ブライワックスで塗装
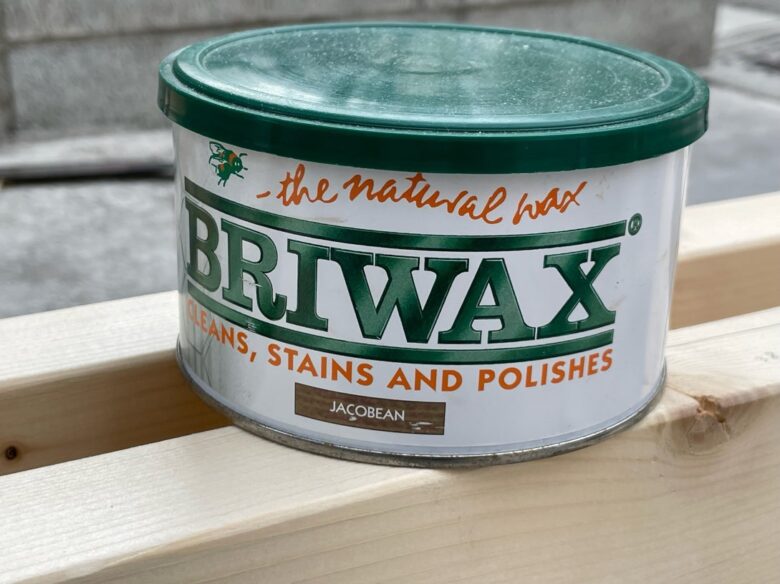
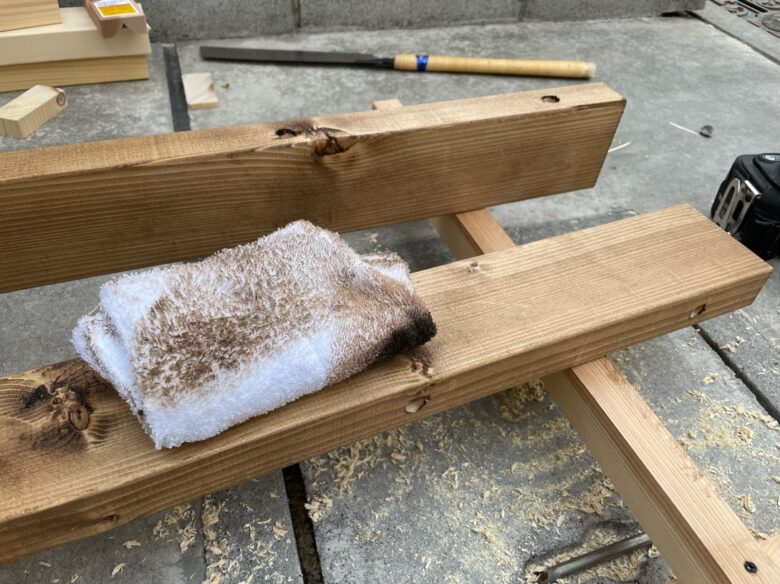
色はジャコビアンが好き。
好き。
渋さとDIY感があるのがいい。良き。
あと色がガラッと変わるから「塗ったった❗」ってすごい思う。
「DIY感」っていうのは別名「自己満感」

反省点|あれ?ちょっと揺れてない?
座ったら、ちょっと横揺れしますた。押忍。
- 脚部の鉄板がうすめでボルトをガッチリ締めきれない
- 左右の足が連結していない
- 座面側の材木が気持ち細め
- ツーバイフォーを買い足して長いビスで左右の脚を連結させる
多分この対策でガッチリするんではないかな
ガッチリ❗
とはいえ、普通に座る分には問題ないです。
小さい子供が激しめに飛び乗るなら補強したほうがいいと思う
補強ついでにミニ収納もつけるのもいいな
補強したらまた記事にいたします
ありがとうございました!


コメント